Player handbook
How the kingdom works
Everything the isles don't stop to explain — gathering, building, the combat gates, and where your gold actually goes. No wallet is needed to play any of it.
Getting started
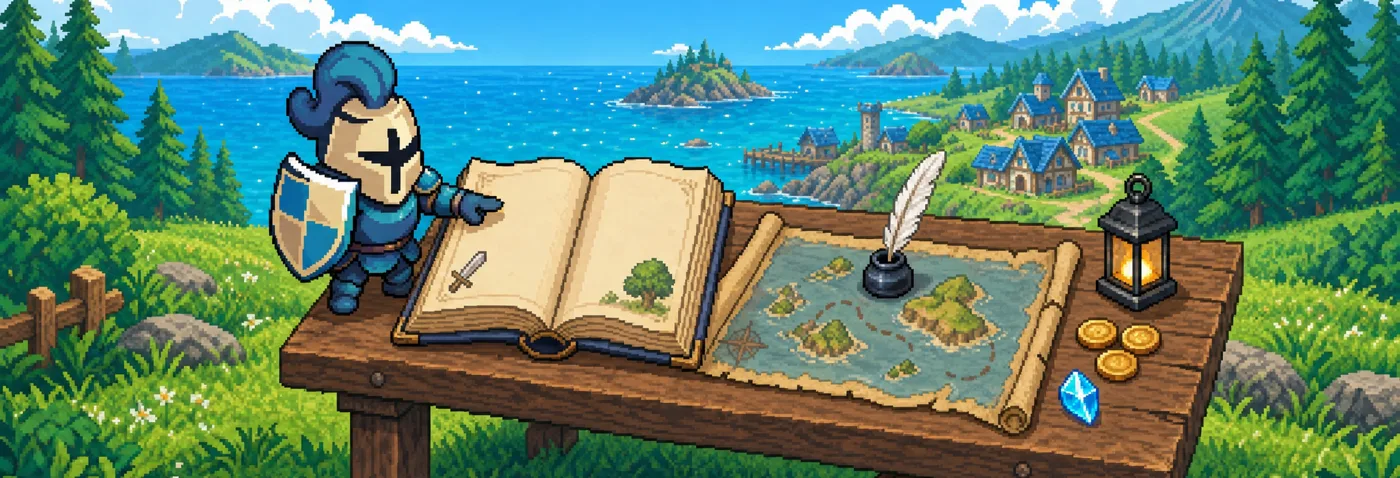
Hit PLAY and you wake up on the Bluehaven Isles — a peaceful archipelago that is your home, your farm, and your front door to every fight. There is no menu of modes: everything in the game is somewhere on the map, and you walk to it.
Your first time in, a short guide walks you through it: take a few steps, chop a tree, open your backpack, meet Smith Brann, pick up the hammer, and a quick tour of the pier and the three gates. Each step ticks off when you do it; skip it whenever you like, and replay it from Settings on the title screen.
Who's who
 Elder WrenMeadowhomeDaily requests and the first steps
 Smith BrannMeadowhomeCrafts, upgrades and repairs gear
 Merchant MarlaMeadowhomeColors, hats and outfits
 Purser GildaMeadowhomeThe Kingdom Purse: pledge Banner Shards
 Lucky LottaPinehollowThe wheel: one free spin a day
 Ranger AshNorth GroveThe Expedition
 Trader CorvinGold HillsThe Trading Post
 Pip the WandererWanders the islesRare goods for gold, for 45 minutes
Controls
- WASD / ←↑↓→ — move
- Space — work, talk, attack (hold to keep working)
- 1 2 3 — swap tools · 4 — the hammer (build)
- B — backpack · I — kingdom ledger · M — map
- Esc — pause · N — mute
The isles — your kingdom
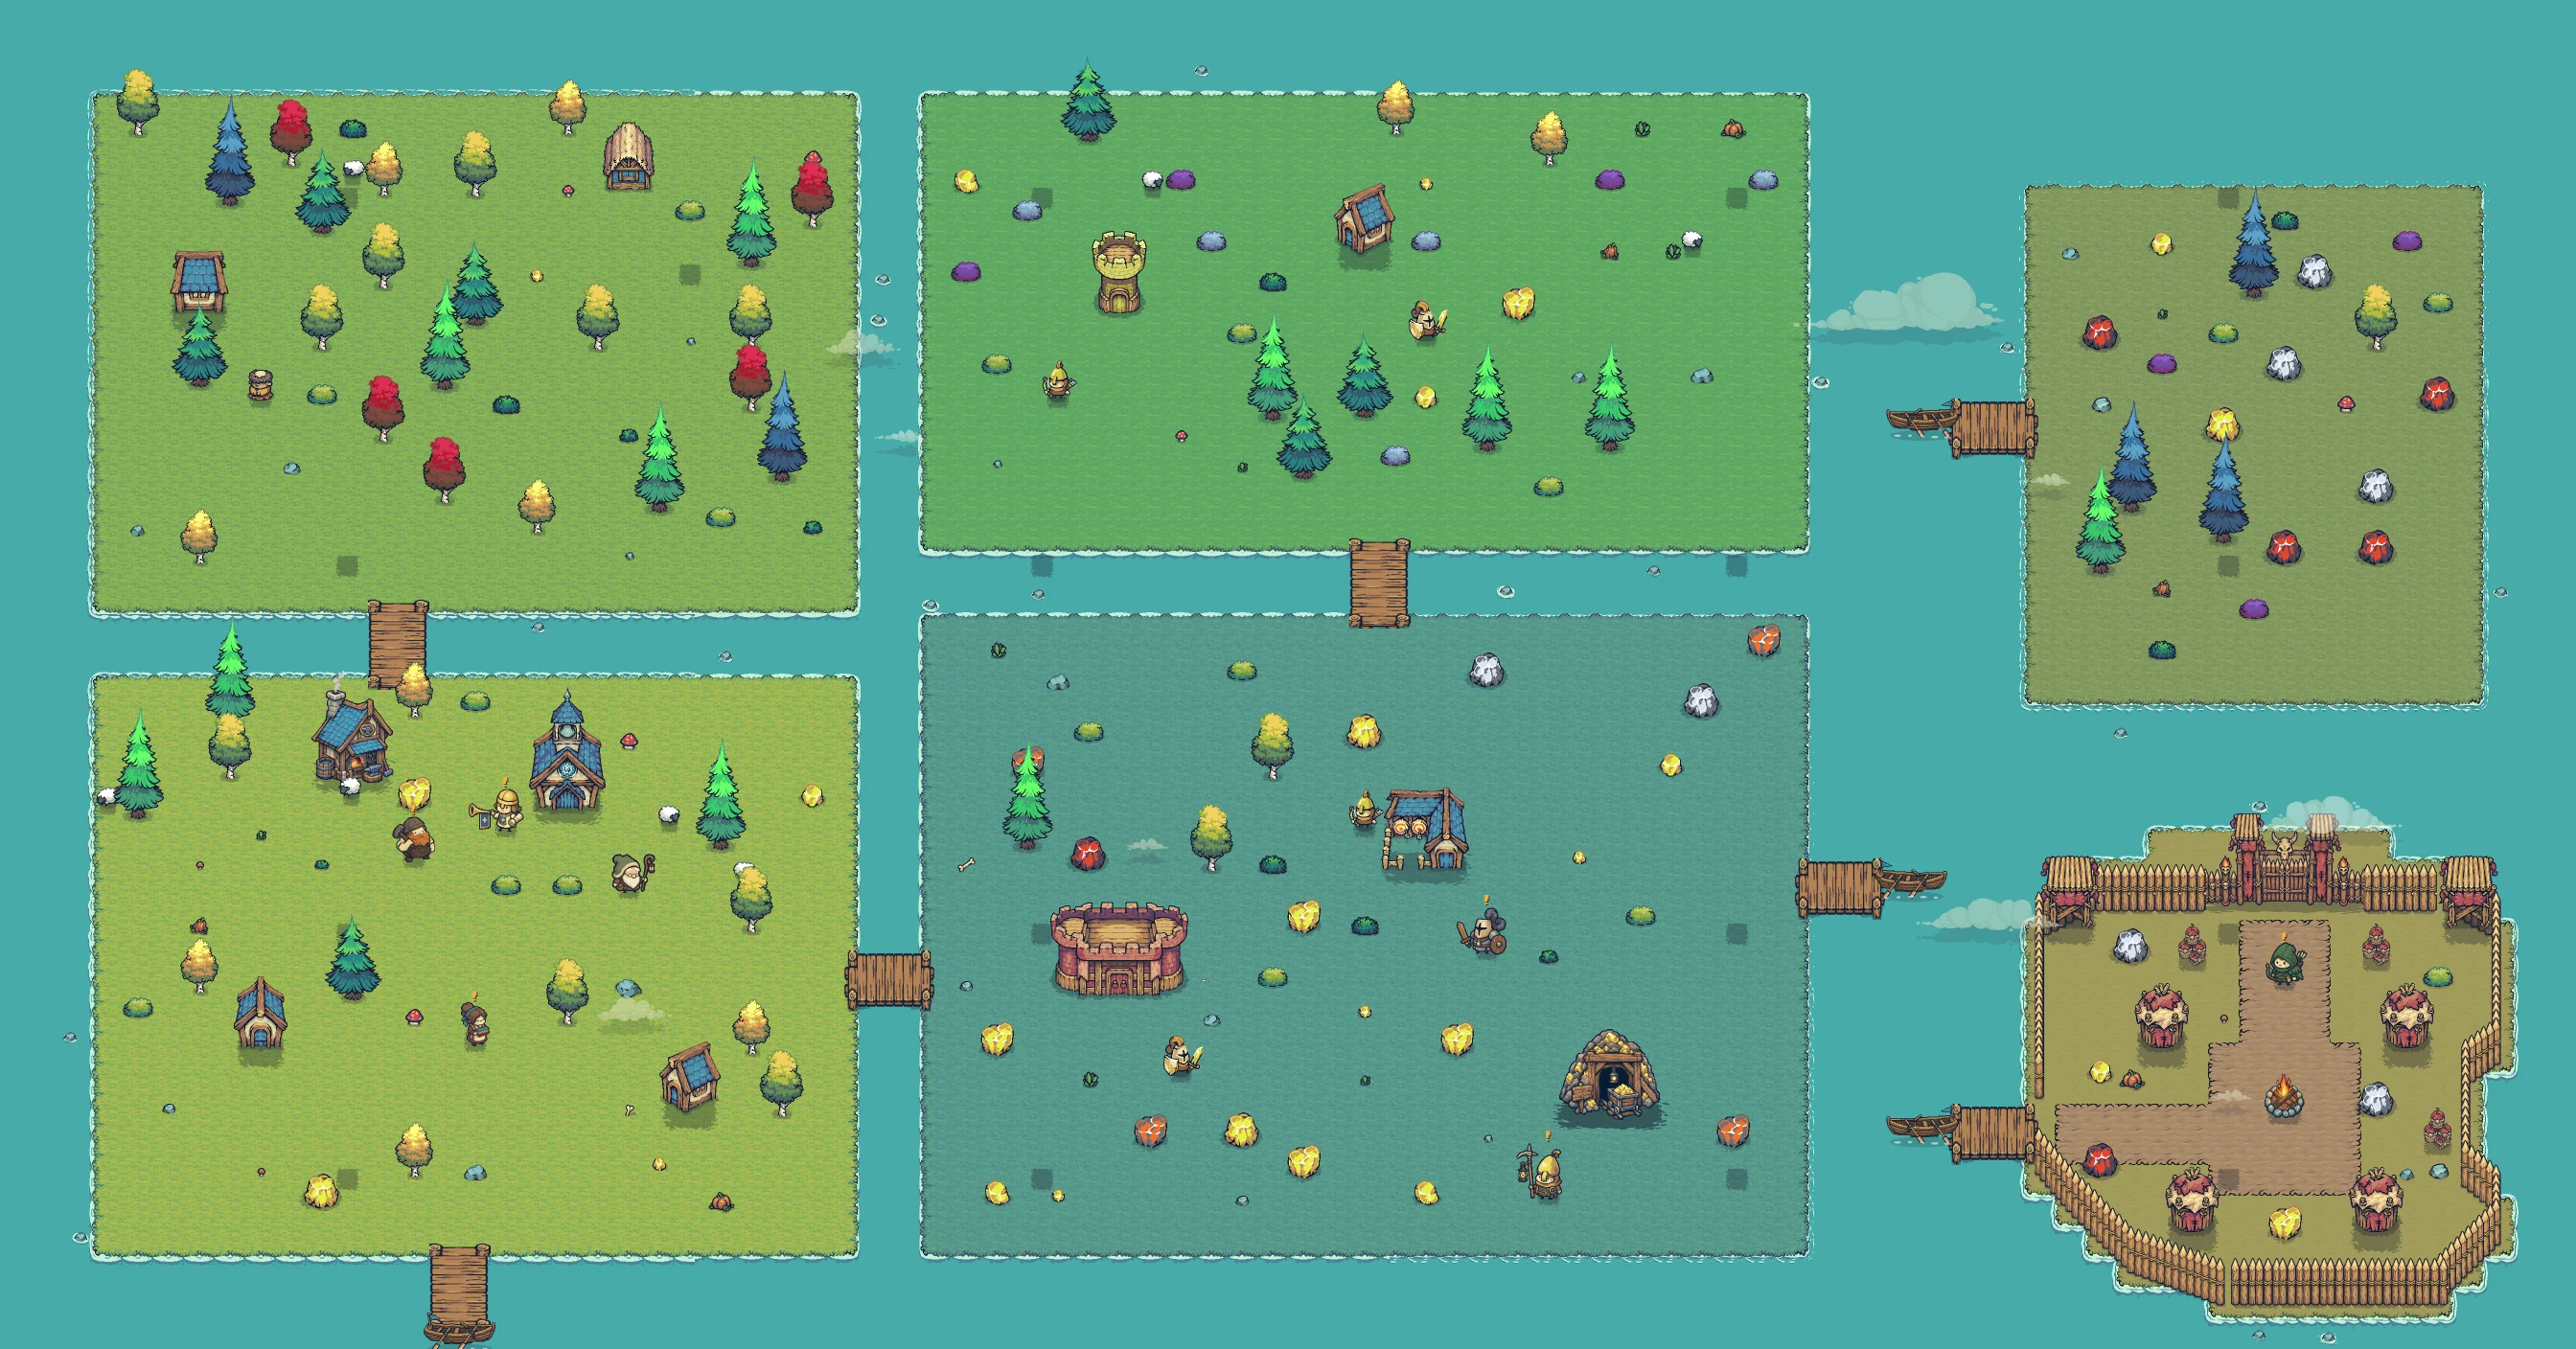
Four islands, linked by bridges, each with its own bounty: Meadowhome for a bit of everything, Pinehollow for timber, Gold Hills for ore, North Grove for the flock.
| Tool | Works on | Yields |
|---|---|---|
| Axe | Trees | Wood |
| Pickaxe | Gold-stone | Gold |
| Knife | Sheep | Meat |
Every haul feeds your skills — Woodcutting, Mining, Husbandry, Foraging and, at the forge, Smithing (level cap 20). Levels make you swing faster and sometimes pull a bonus yield. Everything saves automatically; check the ledger (I) any time.
Player Level
Next to your skills you have one Player Level (up to 30), shown by your name and on your ledger. It rises most from the Old Mine and raids (deeper floors pay more) and from firsts: your first kill of each boss, your first visit to each isle, the first tool of each tier you forge, each Story act. Daily quests and villager favors pay a fair share. Gathering and crafting pay a little, capped at 80 XP a day. Each level adds 2 max health in the Old Mine and the raids (never in Survival or Story), and higher levels let you wear better gear.
The isles are shared: other players currently roaming appear as translucent pawns with their name overhead. They can't touch your kingdom — but they can see your skin.
A day on the isles
- Daily requests — every day three villagers (Elder Wren, Herald Rosalind, Warden Hale or Sergeant Brack) each ask for something: wood, ore, wool, meat, herbs or, once you've cleared an Old Mine floor, deep-mine finds. Everyone gets the same three; they reset at UTC midnight and start easy for your first 3 days. Whatever you gather that day counts, Old Mine bags included. A gold ! marks a villager with a request and a green check means it's ready: talk to them to hand it over for gold, skill XP and Player Level XP.
- Wren's Week — hand over all three requests on any 4 days of a week (Monday to Sunday UTC; no streak to break) for 150 gold.
- Wheel of Fortune — talk to Lucky Lotta in Pinehollow for one free spin every 24 hours. Chances: 5-15 wood 29.7%, 3-10 gold 24.8%, 3-10 meat 24.8%, 20-40 gold 7.9%, 30-50 wood 7.9%, 80-120 gold 4%, Delver's Key 1% (100 gold if you already hold 5 keys).
- Paid spins (once $HAVEN is live, wallet required): 20,000 $HAVEN burned per spin, up to 5 a day (UTC), no gold. Chances: 10-25 wood 30%, 10-25 meat 28%, 2-4 copper ore 20%, 1-2 silver ore 12%, 1-2 moonpetal 6%, 1 ember crystal 3%, Delver's Key 1% (an ember crystal if you already hold 5 keys).
- Lucky finds — any harvest can turn up a small pouch of bonus gold. The isles are generous like that.
- The villagers — seven locals, each with one favor to ask. Bring what they need and they pay in gold and XP. Once.
Isle materials & your backpack
Every isle grows something the others don't, and the best of it asks for skill. Materials go to your backpack (B), and every piece rolls a quality — Fine and Pristine get likelier as your skill grows.
- Pinehollow — red oaks (Woodcutting 3) and ancient pines (Woodcutting 8), which sometimes hide amber resin.
- Gold Hills — copper (Mining 2), silver (Mining 6) and ember crystal (Mining 10).
- North Grove — moonpetal (Foraging 1) and glowcap (Foraging 5). Bring your knife.
- Meadowhome — seasoned shepherds (Husbandry 3) sometimes get wool.
Smith Brann's forge
Brann works the forge beside the monastery in Meadowhome. Bring him materials from several isles and a small fee, and he forges tools in three tiers: copper, silver and ember. A crafted tool swings faster, can double your drop and wears down with use. A broken tool still works like the plain one until Brann repairs it for gold. Tools only help on the isles; they never touch Survival or Story scores.
Every tool rolls a rarity when it's forged, from Common to Legendary, and rarer tools are stronger and last longer. Fine and Pristine materials add luck to the roll. The forge's ODDS tab shows the exact chances it rolls from: 60% / 25% / 10% / 4% / 1% with no luck, up to 20% / 45% / 22% / 10% / 3% at full luck.
The forge's GEAR tab also upgrades tools from +1 to +5 (each step costs gold and the tier's own ore, and gets less likely — the ODDS tab lists every chance; a failed try never harms the tool) and salvages tools you no longer need back into half their materials.
Gear wears out. Every repair costs gold and shaves a little off the tool's top durability (15% for Common, down to 8% for Legendary). After 5 repairs (7 for Legendary) it retires: you can use it until it breaks, then only salvage it. Rarer gear lasts longer.
Level to wear it. Anyone can forge any tier, but wearing Silver needs Player Level 8, Ember Level 14 and Grimtusk's Cleaver Level 16. Your Smithing skill grows as you forge, upgrade and repair: each level adds craft luck and lifts the +4 and +5 upgrade chances. The ODDS tab shows your own numbers.
The Old Mine
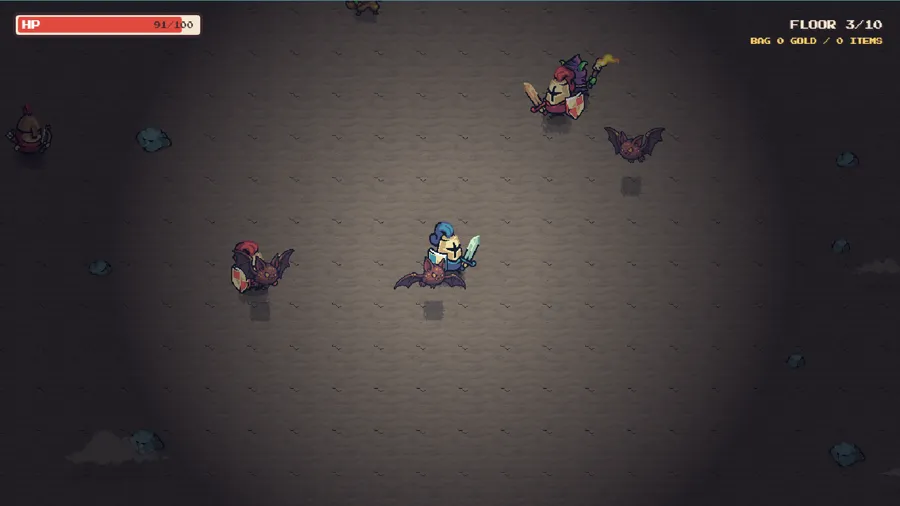
Warden Hale guards the mine in the south of Gold Hills. Ten floors go down; each one is a fight, and each cleared floor puts loot in your bag. Then you choose: descend (and pick an upgrade for this run) or leave with the bag. Fall down there and the mine keeps everything in the bag.
Floors 5 and up hold what the isles don't: Shadow Iron, Bone Dust and, from the bosses on floors 5 and 10, Warlord Sigils — the top recipes need them.
The mine has its own residents. Cave Bats swoop at you on the upper floors (step aside as they dive), Goblin Miners lob lit dynamite from a distance, Rock Slimes hop in and bite on the deep floors, and Gas Beetles plod after you venting green gas clouds: don't stand in the gas (they burst into one more when they die). The Rock Golem guards floor 5: get out of the red circle before its fists come down. At the bottom, floor 10, waits the Crystal Wyrm. It breathes embers at you, then dives into its rock pile, and the ground rumbles after you until it bursts up under a red circle. It comes in a different mood every week (Ember, Ashen, Abyssal; tougher each time), with a bonus for your first clear. Every boss (the Golem, the Wyrm, Grimtusk in Tinderskull) leaves its hoard in a chest: walk up and open it to see what you won. The chest only shows loot already rolled from the published odds, and its glow matches the best thing inside. Swords and armor from Brann's forge (or a boss drop) make you stronger in the mine only, and wear a point for every floor you enter. Fall on floor 6 or deeper and your weapon and armor lose 3 points more. The Warden shows the full loot table, with the exact chances, before you go in.
Your Gear Score (on your ledger) adds up the worn weapon and armor. The Warden and Vex show the score each fight recommends in green, yellow or red. It's a warning, never a lock.
The Rock Golem sometimes drops a Delver's Key (35% a kill, hold up to 5). Use one at the gate to start a run on floor 5, with the four upgrade picks of the floors you skipped. And the DELVE board on the leaderboard ranks this week's deepest runs (floor, then time), resetting every Monday 00:00 UTC. Gear and level count there. The Crystal Wyrm very rarely drops the Wyrmscale Cape (1.5% a kill), a cape you can't buy anywhere.
Sailing and Ember Reef
Three piers reach into the sea: south of Meadowhome, east of Gold Hills, and on Ember Reef, a volcanic isle far to the north-east that you can only reach by boat. A rowboat waits at every pier: stand on the pier and press Space to hop in, then row up to any pier and press Space again to dock. Ember Reef holds the richest nodes on the map — Ember Crystal, Silver Veins, Ancient Pines and Glowcaps.
Tinderskull Isle and the Goblin King
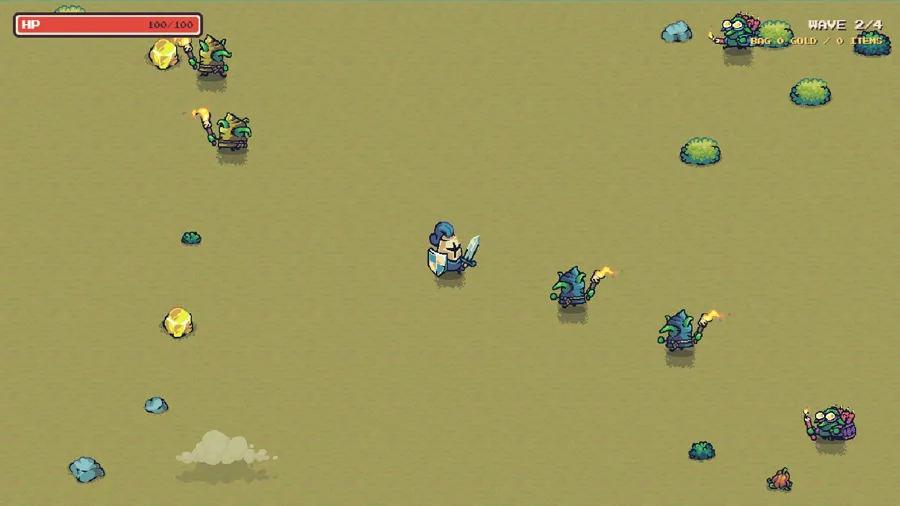
Far to the south-east, past a fourth pier, goblins have built a fort on scorched ground. Scout Vex waits by the gate. Raid the fort and you face three waves of goblin raiders, then Grimtusk the Goblin King himself. He slams his cleaver where the red circle shows (step out of it), throws TNT at range, and calls his guards at half health. It works like the mine: loot goes in your bag after each wave, press on or sail home, and fall there and the fort keeps the bag.
Your first Grimtusk kill each day (UTC) also opens his treasure chest for extra gold and materials. Grimtusk can drop two rare prizes you can't buy or forge: Grimtusk's Cleaver, the strongest sword, and the Goblin King's Crown, a head cosmetic, plus the Tusk Helm. Vex shows the exact drop chances before you go in.
Build your kingdom
Build anywhere on Meadowhome, up to three buildings. Pick up the hammer (4), choose a building with Q/E (or the arrows), and its footprint follows you: green means it fits, red tells you what's in the way (paths, the shore, other buildings, villagers, or a spot that would cut off a bridge or pier). Trees and rocks get cleared for you. Press Space, confirm, pay the cost, and come back when the scaffolding's done. Construction runs on real time and finishes even while you're away.
Each finished building helps you in the Old Mine and the raids (not in Survival or Story): a Cottage leaves you Rested (+15 max health), a Watchtower gives you a Lookout (a wider lantern light in the dark mine), and a Keep packs Rations (once a run, heal half your health when it drops under 30%). Two of the same building give the perk once. Your ledger lists which perks are active.
| Building | Cost | Build time |
|---|---|---|
| Cottage | 30 wood + 40 gold | 90 seconds |
| Watchtower | 60 wood + 90 gold | 4 minutes |
| Keep | 140 wood + 220 gold | 10 minutes |
Buildings take the color of the skin you're wearing, and they stand forever.
The garden & hired workers
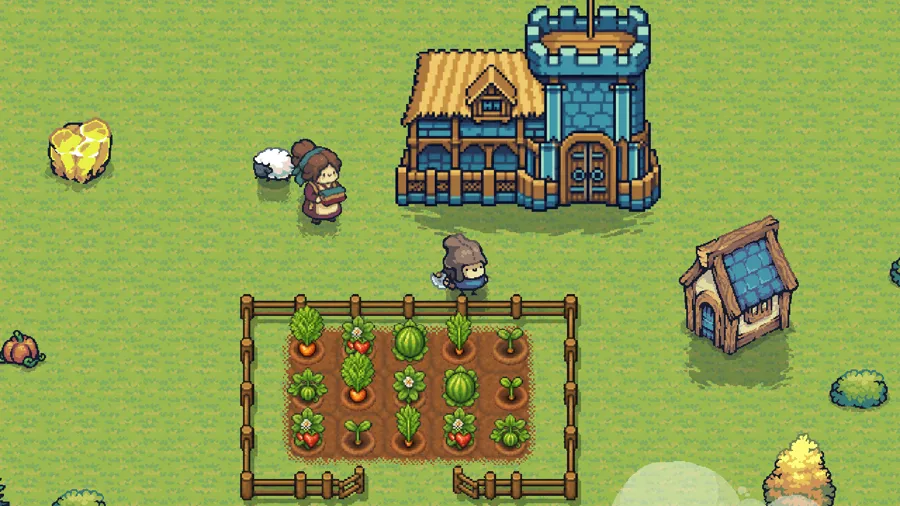
From Player Level 3, the fenced garden below the Town Hall in Meadowhome has 15 plots. Seeds cost gold, and a ripe crop waits for you and never rots.
| Crop | Seed | Grows in | Harvest |
|---|---|---|---|
| Carrots | 4 gold | 10 minutes | 4 meat |
| Strawberries | 10 gold | 1 hour | 14 gold |
| Watermelon | 30 gold | 4 hours | 46 gold |
From Player Level 10, hire workers once at the Town Hall: a Woodcutter (400 gold, 30 wood an hour) and a Miner (1,200 gold, 25 gold an hour). They work up to 8 hours while you're away and eat 1 meat per hour of work when you collect.
Marla's wares
Merchant Marla near the spawn dresses your pawn in three parts that mix freely: a color, a head piece and an outfit. Your color also dyes the outfit's cloth. Click anything to try it on before you buy. Cosmetic only, forever: nothing in Haven will ever swing harder than the free look.
| Piece | Price |
|---|---|
| Knight Blue (color) | Free (default) |
| Ember Red (color) | 150 gold |
| Twilight (color) | 150 gold |
| Shadowed (color) | 250 gold |
| Straw Hat (head) | 200 gold |
| Punk Mohawk (head) | 250 gold |
| Samurai Knot (head) | 300 gold |
| Viking Helm (head) | 350 gold |
| Pirate Tricorn (head) | 350 gold |
| Wizard Hood (head) | 400 gold |
| Golden Surge (head) | 500 gold |
| Explorer Vest (outfit) | 200 gold |
| Smith Apron (outfit) | 250 gold |
| Knight Tabard (outfit) | 400 gold |
The gates — where the fighting is
Combat lives behind two NPCs. Look for the bouncing ! the first time.
Story — Herald Rosalind, at the monastery
Six acts chasing Captain Redmane from The Burning Village to his castle gate. The first time you clear an act, 30 gold is sent home to your stores — finish the whole tale and the kingdom celebrates with 120 more.
Survival — Sergeant Brack, at the archery range
Endless waves, an upgrade pick after each one, a leaderboard to climb. Every wave you clear ships war spoils home: +3 gold and +2 wood, whether you fall or walk away.
Beyond the isles: Expedition & fighting
The Expedition, with Ranger Ash in North Grove
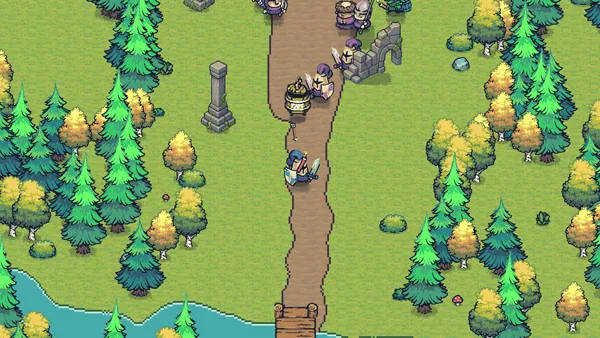
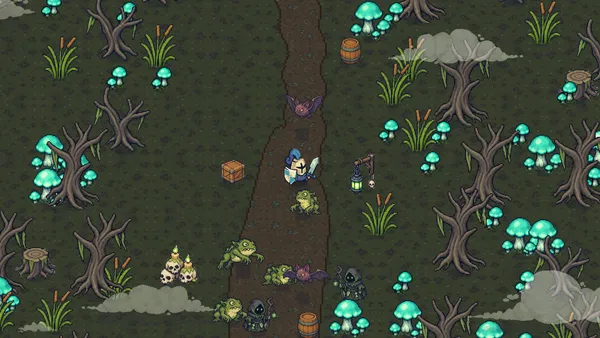
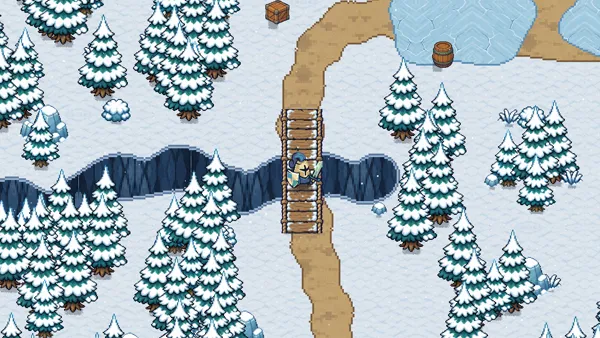
A long road walked one stage at a time. Each stage is an ambush; between them, old banners let you rest (+30% health) and choose: press on, or take your bag home. Fall on the road and it keeps your haul, like the Old Mine. Crates and barrels by the road take three blows and pay a little gold, sometimes a material. Loot odds are on Ash's gate screen.
| Chapter | Road | Boss | Opens |
|---|---|---|---|
| 1 | The Greenwood Road, 6 stages | The Road Chief (first kill 100 XP) | From the start |
| 2 | The Mirefen, 7 stages | The Bog Witch (first kill 200 XP) | After Chapter 1 |
| 3 | Frostpeak Pass, 8 stages | The Frost Warlord (first kill 300 XP) | After Chapter 2 |
Each boss's chest opens on your first kill of every UTC day. Bosses turn furious if a fight drags on.
Combat skills
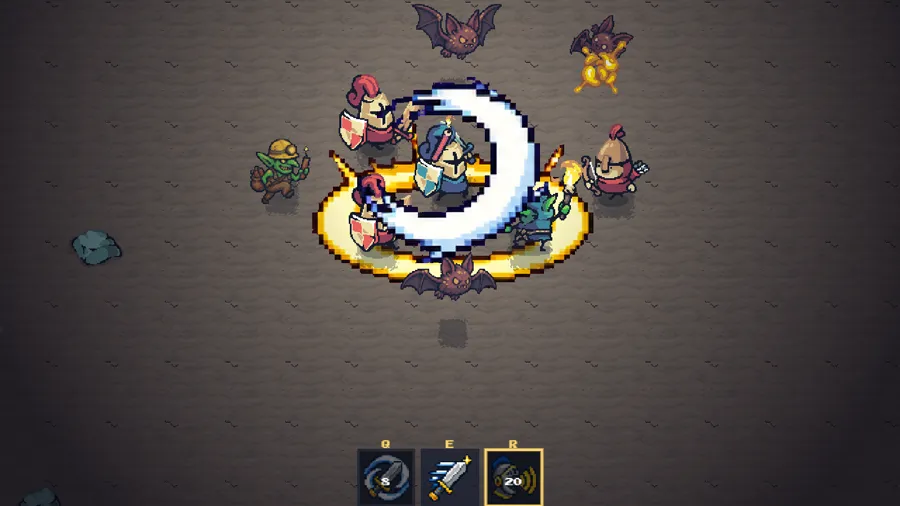
Player Level unlocks three skills that work in every fight: Whirlwind at Lv 6 (Q), Dash Strike at Lv 12 (E, untouchable while dashing) and War Cry at Lv 18 (R, +40% damage and nearby enemies slowed).
Old Mine: elites and surprises
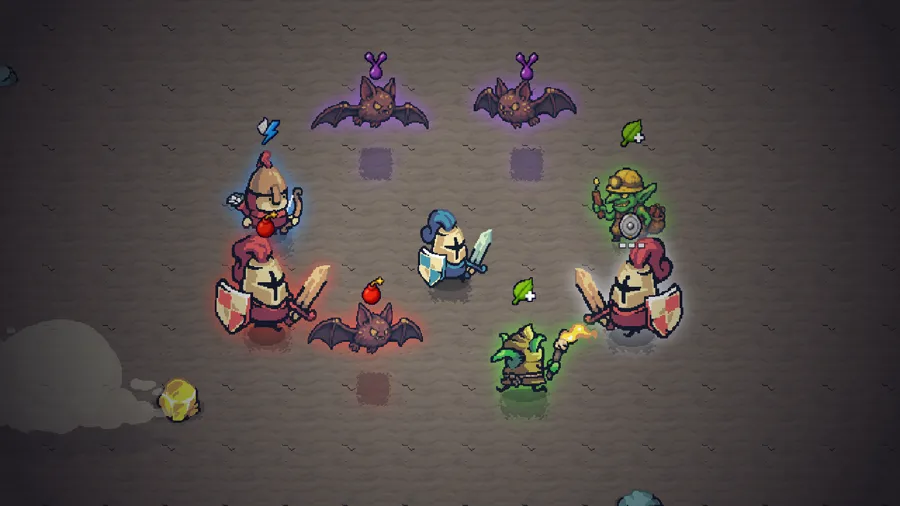
- Elites show up on floors 3-4 (8%) and 6-9 (14%), each with one trait: Swift, Explosive, Shielded, Mender or Splitter. They always drop a heal.
- Surprises on about 1 floor in 5 (floors 2-9): a Golden Goblin to catch within 15 seconds, a treasure chest that pays the floor's loot again, or a cursed floor (tougher enemies, double loot) you can choose to take on.
The Kingdom Purse
Purser Gilda in Meadowhome keeps the Purse. Bring her Banner Shards and pledge them: every day at 00:00 UTC her bell rings and the day's pool of 3,000 gold is shared by what each traveler pledged.
 Find Banner Shards in the Old Mine
 Pledge them to Gilda
- 00:00Her bell rings (UTC)
 3,000 gold is shared
- Who: Player Level 5 and a connected wallet.
- Where Shards come from: Old Mine floors 3-4 and 6-7 (1 each), floors 8-9 (2 each), and the bosses: the Rock Golem 2, the Crystal Wyrm 4, Grimtusk 3.
- Careful: Shards ride in your run bag. Fall and they're gone.
- Limit: up to 40 a day. Unpledged Shards expire when the bell rings.
- Your share: 3,000 × your Shards ÷ all Shards pledged that day.
Trading & wanderers
The Trading Post, with Trader Corvin in Gold Hills
Sell your rare finds to other players for gold, or buy theirs. Listing an item takes it out of your backpack; it comes back if you cancel or nobody buys it within 24 hours. Gold from a sale waits at the Trading Post until you collect it. Each item shows its last 20 sale prices.
- Tradeable: Shadow Iron, Bone Dust and Warlord Sigils; boss gear; Epic and Legendary gear, or +4 and up, while it still has durability; boss cosmetics. Take worn gear off first.
- Not tradeable: everything else, including Delver's Keys.
- Limits: 3 open listings, 10 new listings a day.
- Fee: 5% of the price, taken from the seller's gold and burned.
Pip the Wanderer
Pip turns up once in every 3-hour UTC slot, for 45 minutes, on one of four isles. He sells four offers for gold, such as a Delver's Key or rare materials, with a limit per visit.
Secret missions
On about half the days, from Player Level 4, one villager wears a violet ?. Bring what they ask before 00:00 UTC for 300-500 gold, and sometimes a Delver's Key.
$HAVEN
The full picture (the official contract, the opening buy, the Treasury and every weekly transfer) is on the $HAVEN page.
$HAVEN is Haven's token on BSC. It isn't live yet. Everything below switches on when it launches; until then nothing in the game asks for it.
OFFICIAL CONTRACT · BSC
即将上线

- Premium characters: the Phoenix Warden, the Astral Seer and the Abyssal Revenant, 500,000 $HAVEN each. Each one is fully drawn, so your color, head piece and outfit don't show while it's worn.
- Paid spins on Lucky Lotta's wheel: 20,000 $HAVEN a spin, up to 5 a day, never gold (see A day on the isles).
- Burned: $HAVEN spent on these goes to the burn address. Nobody keeps it.
- A wallet on BSC is needed for all of it.
Leaderboard & wallet
Playing never requires a wallet. As a guest your kingdom is saved on our server and tied to this browser. Connect a wallet (any EVM wallet, on BSC) to keep the same kingdom on any device, put your name on the leaderboards, and pledge to the Kingdom Purse.
$HAVEN features need a wallet too: see $HAVEN and the roadmap.
Good to know
- As a guest, your kingdom is tied to this browser: clearing site data or switching device starts a new one. Connect a wallet to keep it everywhere.
- Scores submit only when you're signed in; the run still counts locally either way.
- What the game stores about you, for how long, and how to have it deleted: Privacy.
- Art is Tiny Swords by Pixel Frog (CC0). The bugs are ours.
The rest you'll learn by playing — the isles are open.